 Email > Using
Outlook Add-in > With OWA
Email > Using
Outlook Add-in > With OWA
Email > Using
Outlook Add-in > With OWA
Email > Using
Outlook Add-in > With OWALogin to your Exchange account from any device after the Outlook Add-in is installed to see the Add-in controls.
1. Login to your
Exchange account in OWA and open an email to access the new Add-in
controls that appear as Amicus Cloud in the
menu bar.
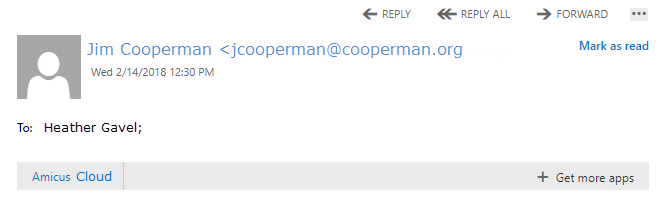
2. Click the Amicus Cloud heading to expand the control to
display the Amicus Cloud Login screen.
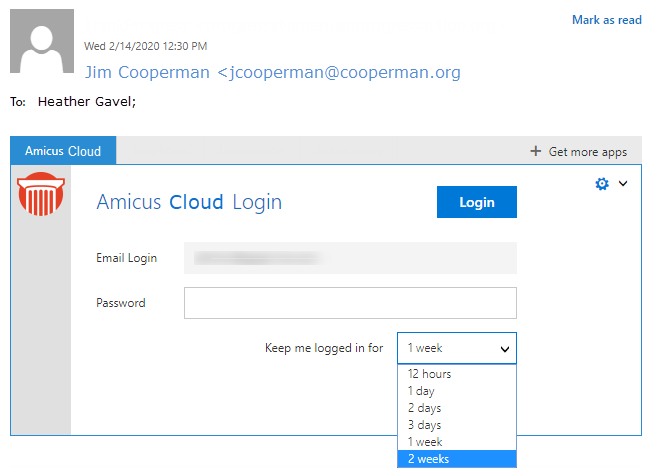
● Enter your Amicus Cloud password in the Password field..
● Select an option from the dropdown list in the Keep me logged in for field to bypass the Amicus Cloud Login screen for the period selected. The list defaults to 2 weeks.
1. Click Login to access the Add-in
controls.
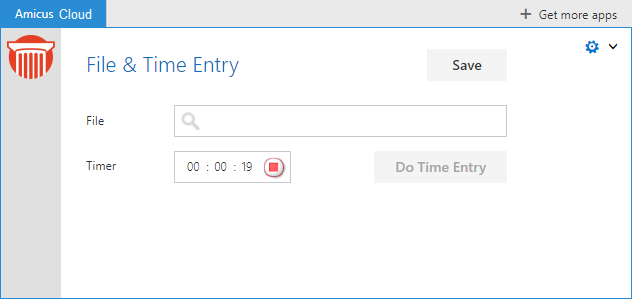
2. Click into the File field and begin typing a file name. After the first 3 letters of the file name have been entered the search results appear for all matches. Select the file you wish to associate the email with from the list.
● This field can be edited as necessary. Hover over the file name to display an "X" so that the file can be removed and replaced.
● The selected file now displays in the File field.
o Email messages can only be associated to a single matter.
o When you hover over it an "X" displays so you can remove and replace the file with another one.
● The
Timer starts automatically when you expand the pane. Click the
red square  to Stop
and Start.
to Stop
and Start.
o The duration
can also be edited when the Timer is stopped.
● The Do Time Entry button becomes active, but you can Save the file association without creating a time entry.
3. Click Do Time Entry to create a time entry. The file
name and date are passed to the new Time Entry
dialog. The corresponding file settings would also be observed for the
billing rate and other settings such as minimum billable time.

● Date – By default the date is representative of when the actual email message was sent/received.
● Duration – Filled in automatically based on how long the timer on the previous pane had been running. The Preferences you specified in Amicus Cloud take priority.
● File – Prefilled based on what was specified on the previous pane. This field cannot be edited.
● Description – The text displays as "Email correspondence with [Email Name]" or if the name isn't listed as "Email correspondence with [Email Address]".
4. Click into the fields to make changes, then click one of the following options at the top of the dialog:
● Save to save the details to the account.
● Cancel to cancel the time entry
5. Click Advanced at the bottom of the dialog to display
the Advanced Time Entry dialog which contains
the following fields – Billing Status, Billing Rate, Task Code
and Activity Code.

● Click in each field to display a dropdown list. If the Billing Rate is changed to Flat Rate Activity a new field displays where the total can be entered.
● If you choose not to display the Advanced Time Entry dialog, the Billing Status and Billing Rate are filled according to the file defaults. The Task Code and Activity Code fields are optional depending on your firm settings.
● Click Cancel to return to the first File & Time Entry dialog without saving any changes.
6. Click Save to close the Advanced
Time Entry dialog and return to the File &
Time Entry dialog. The Timer disappears
and the Duration is read-only.
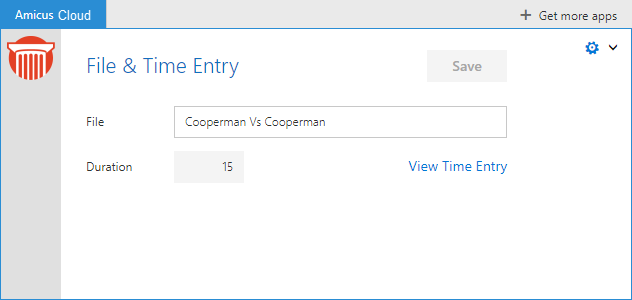
7. Click View Time Entry to display the Time Entry details dialog.
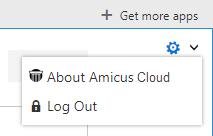
8. Click the
Gear  icon to
Log Out of the app or to view the About Amicus Cloud details.
icon to
Log Out of the app or to view the About Amicus Cloud details.
9. Click the Amicus Cloud heading to collapse the view.
● Installing the Outlook Add-in
● Using Outlook Add-in with Desktop Outlook
● Using Outlook Add-in on the web with Office 365
Amicus Cloud (July 2023)
Copyright